Degate main window
In this page, we will dig into the Degate main window. The Degate main window is composed of a top menu, a toolbar, a workspace and a notification bar.
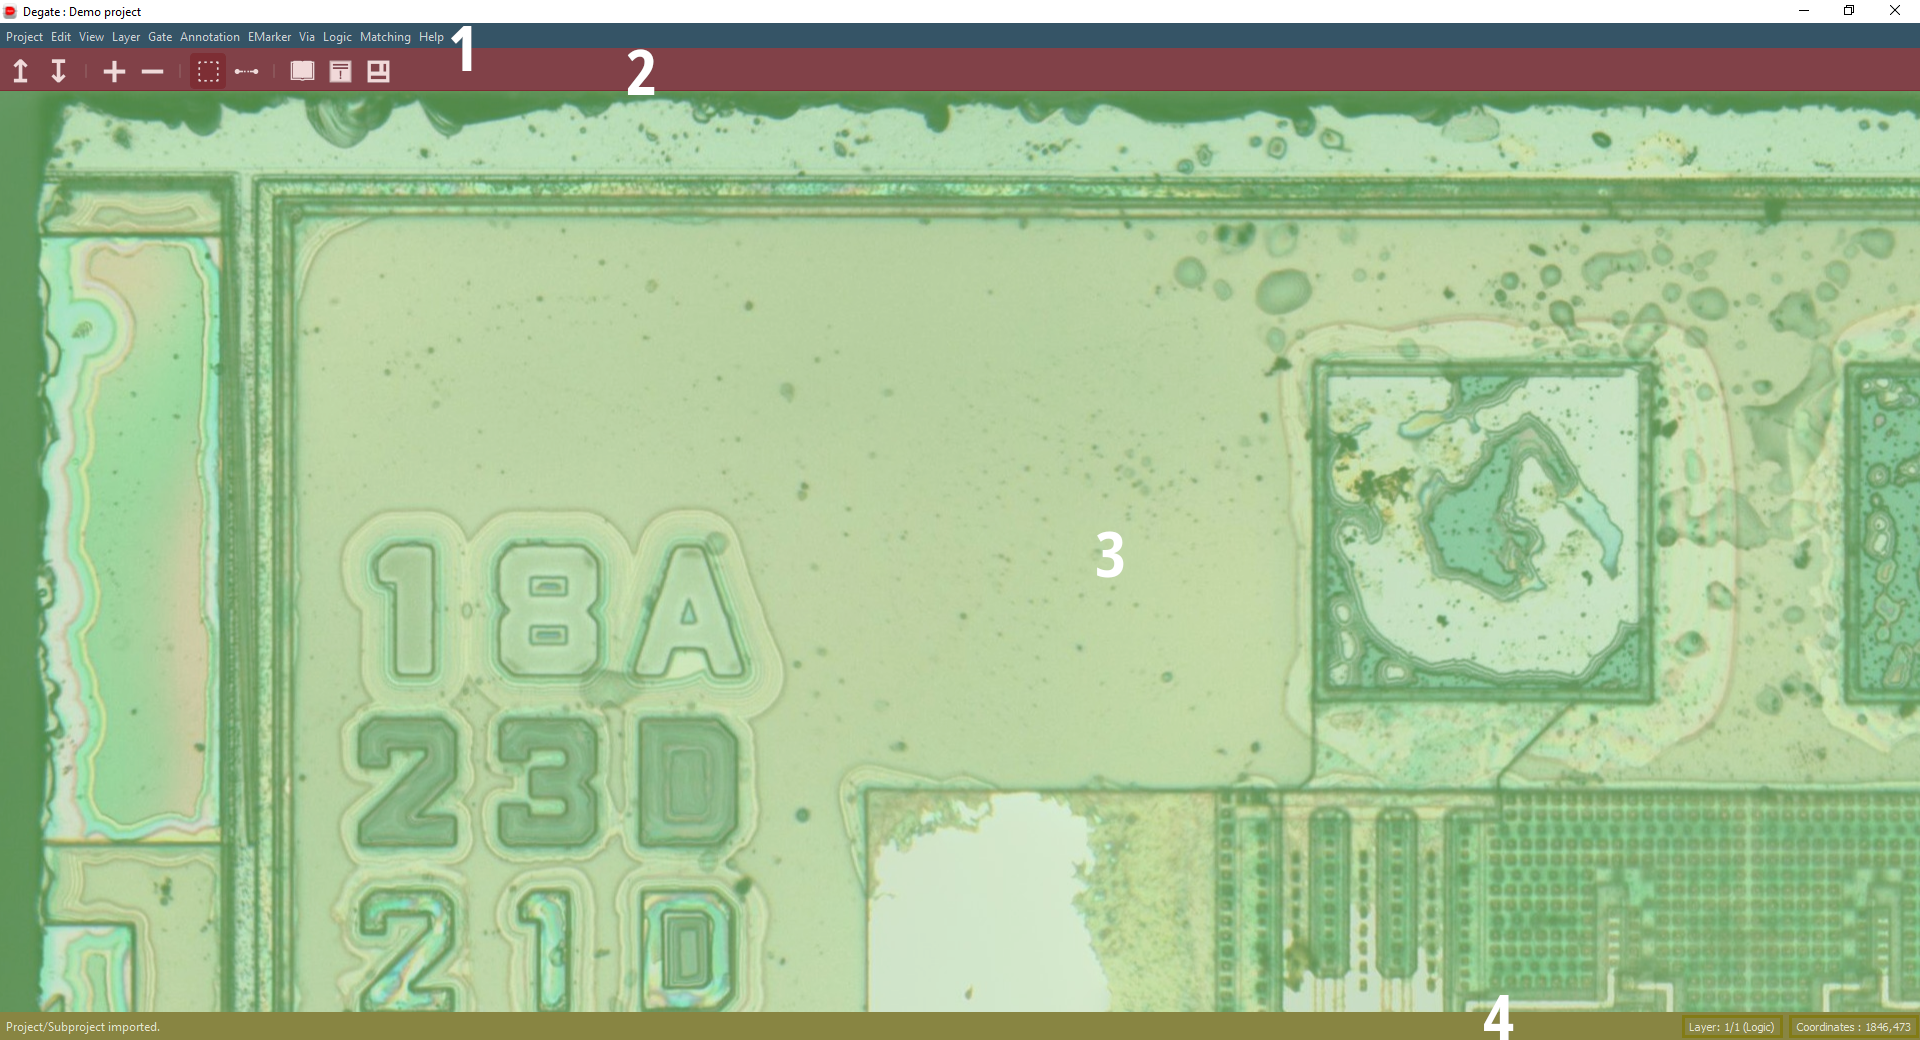
- 1 (blue): top menu.
- 2 (red): toolbar.
- 3 (green): workspace.
- 4 (yellow): notification bar.
Top menu
The top menu is where you will every possible action in the software. It is split in 11 submenu:
- The project submenu: create and load a project.
- The edit submenu: edit preferences.
- The view submenu: hide/show elements and configure the grid.
- The layer submenu: edit layers.
- The gate submenu: create and edit gate and gate template.
- The annotation submenu: edit and create annotations.
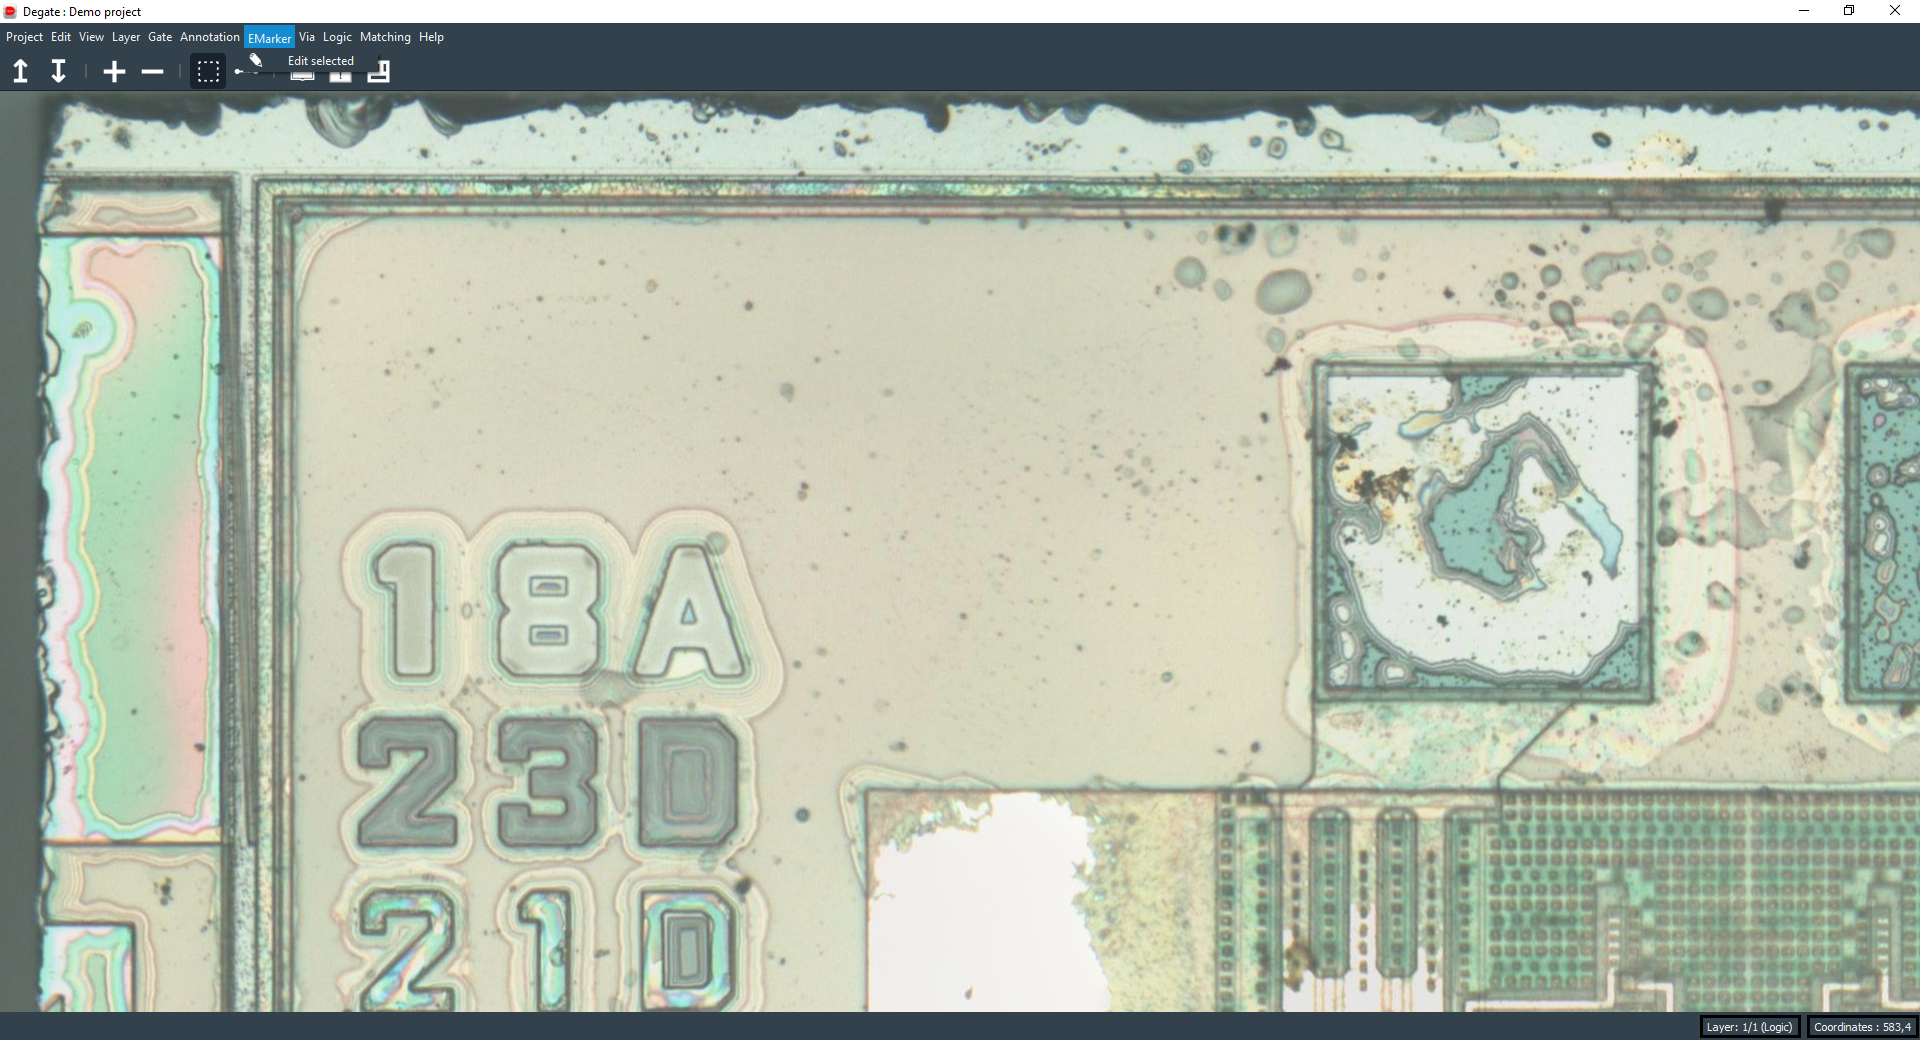
- The emarker submenu: edit emarkers.
- The via submenu: edit vias.
- The logic submenu: remove, interconnect and isolate objects.
- The matching submenu: template, via and wire matching.
- The help submenu: list of shortcuts, documentation link and about dialog.
Project submenu
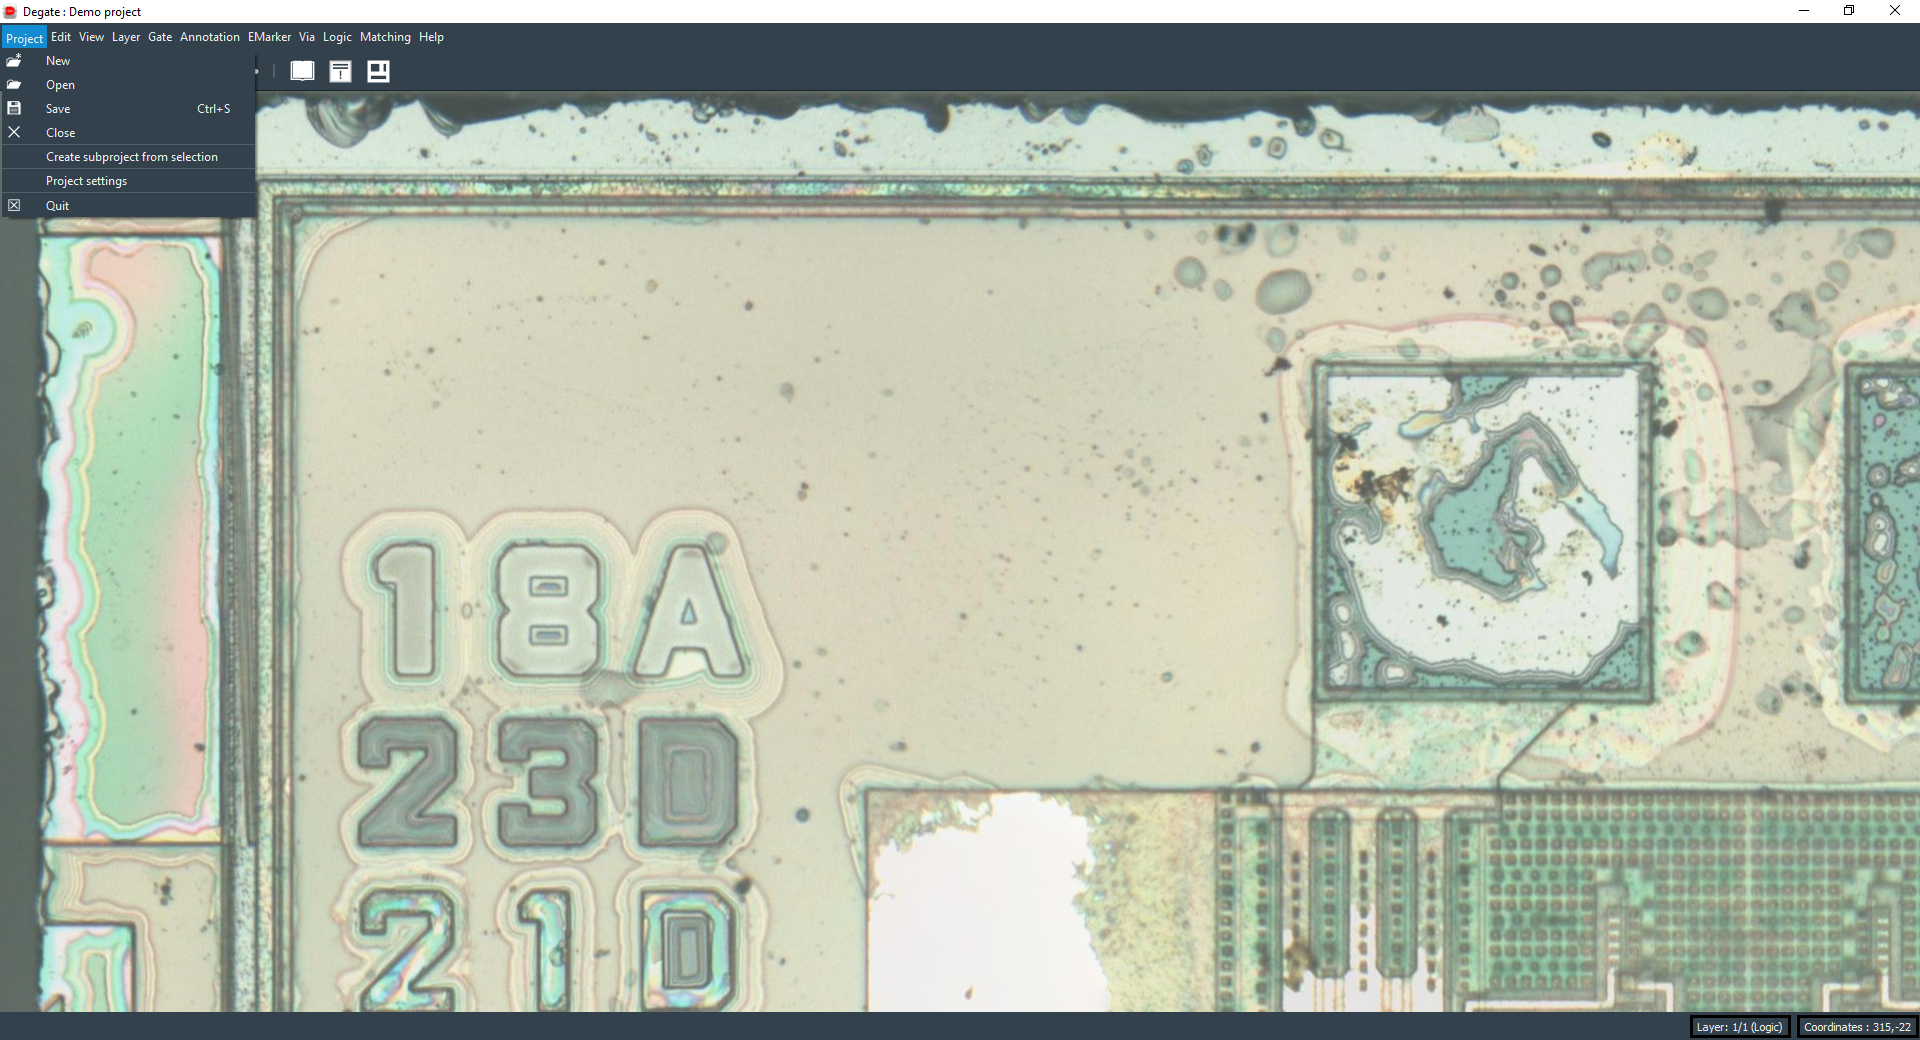
The project submenu offers the possibility to open, create and close a project. You can also edit project settings and create a subproject.

View submenu
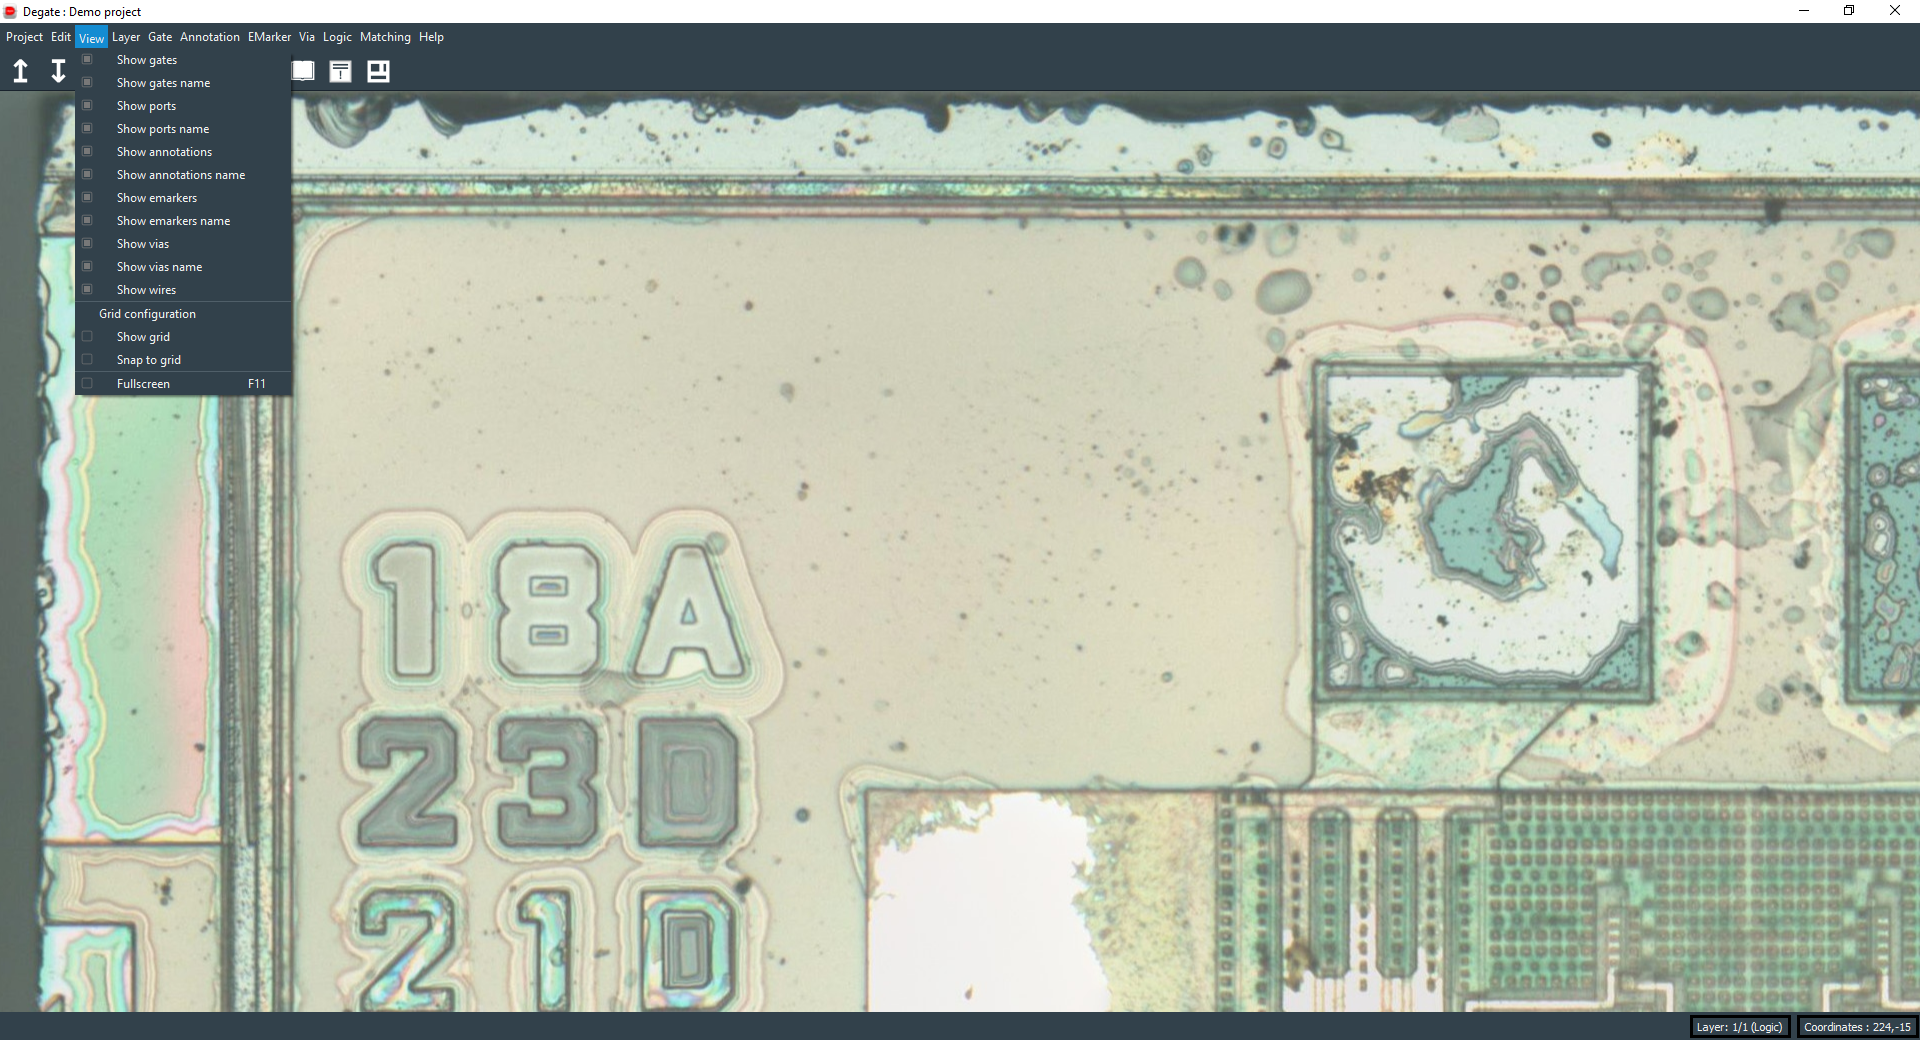
The view submenu offers the possibility to hide or show objects (like gates, gates names, wires…), to enable/disable/configure the grid and to access the fullscreen mode.
Layer submenu

The layer submenu allows you to launch the layer edit dialog and to directly change the current layer background (it’s a shortcut to the same functionality in the layer edit dialog).
Gate submenu

The gate submenu will help you to create a gate or gate template from selection, to edit a selected gate, to list gates templates, to list gates instances and a way to automatically name gates along rows or columns.
Annotation submenu

The annotation submenu will help you to create, edit and get a list of annotations.

Logic submenu
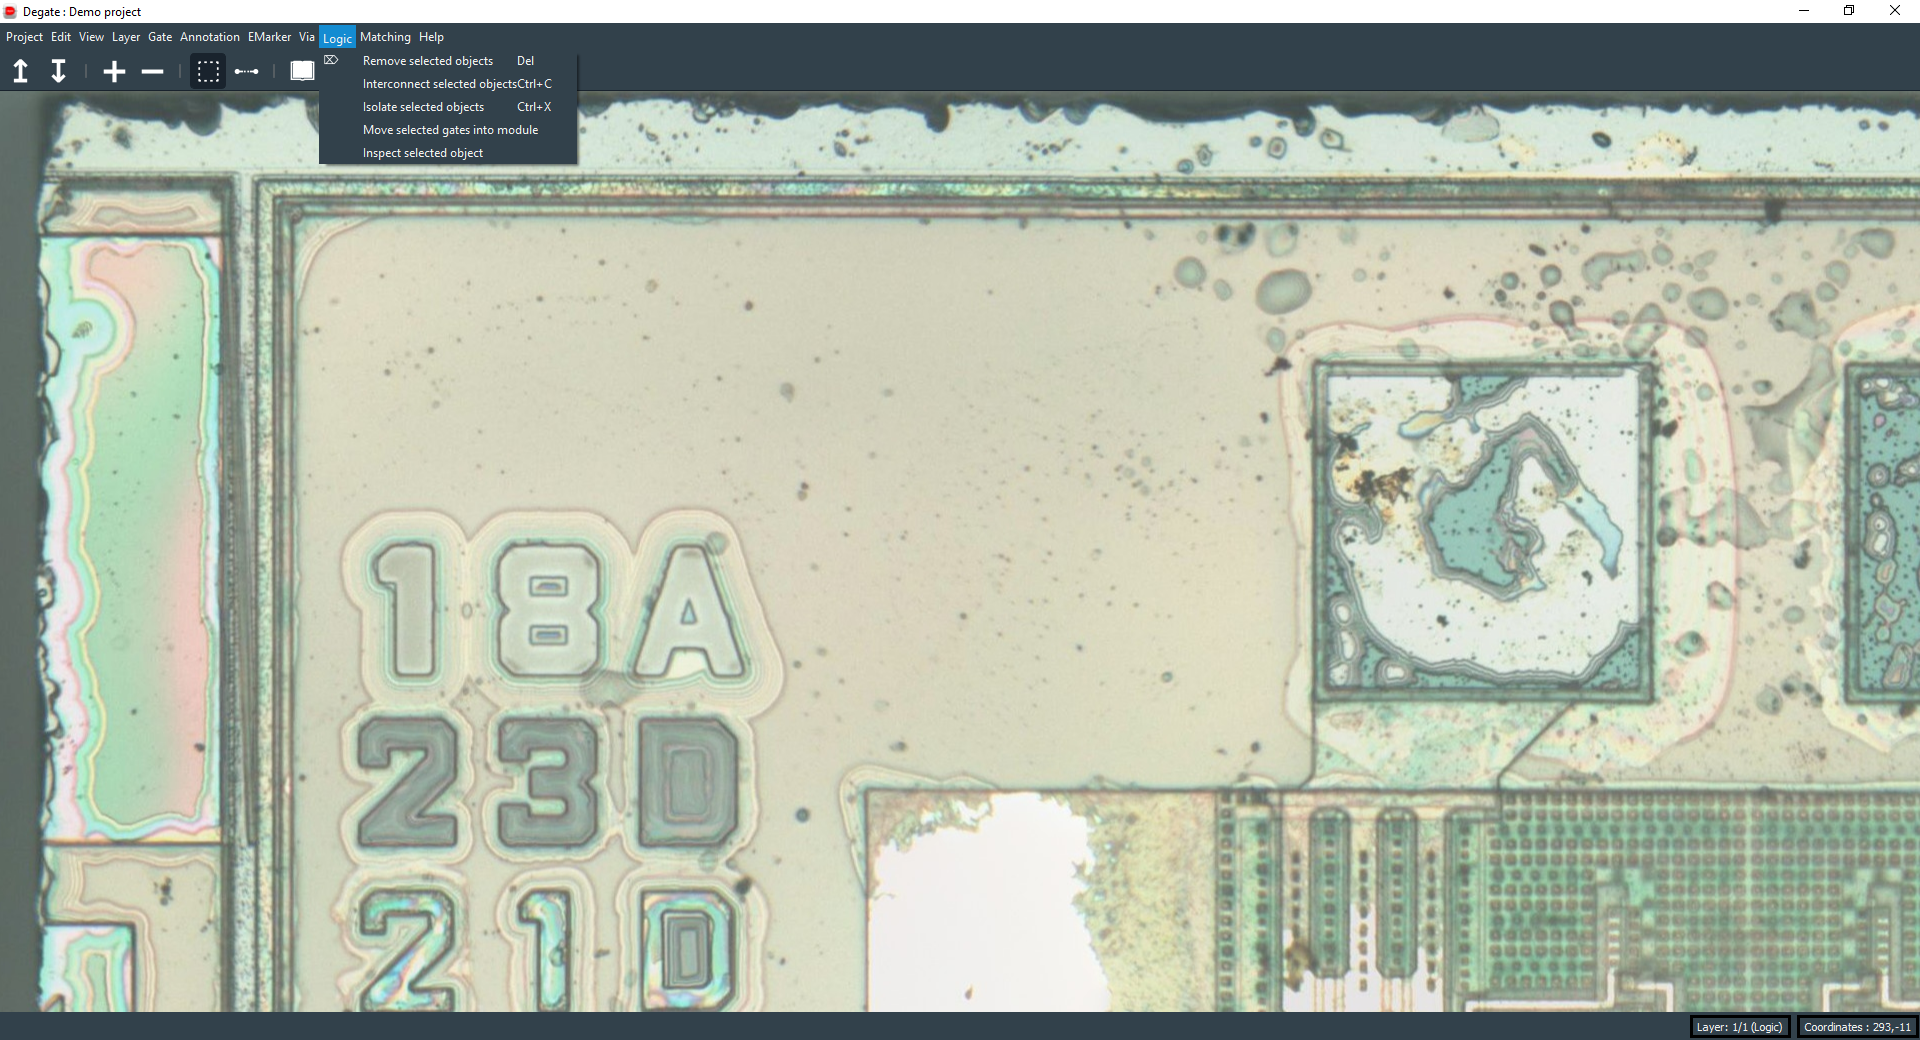
The logic submenu will help you to remove selected objects, to interconnect or isolate them, to move objects into a module or to inspect a selected object.
Matching submenu

The matching submenu will allow you to start template matching, via matching or wire matching dialogs.
Help submenu
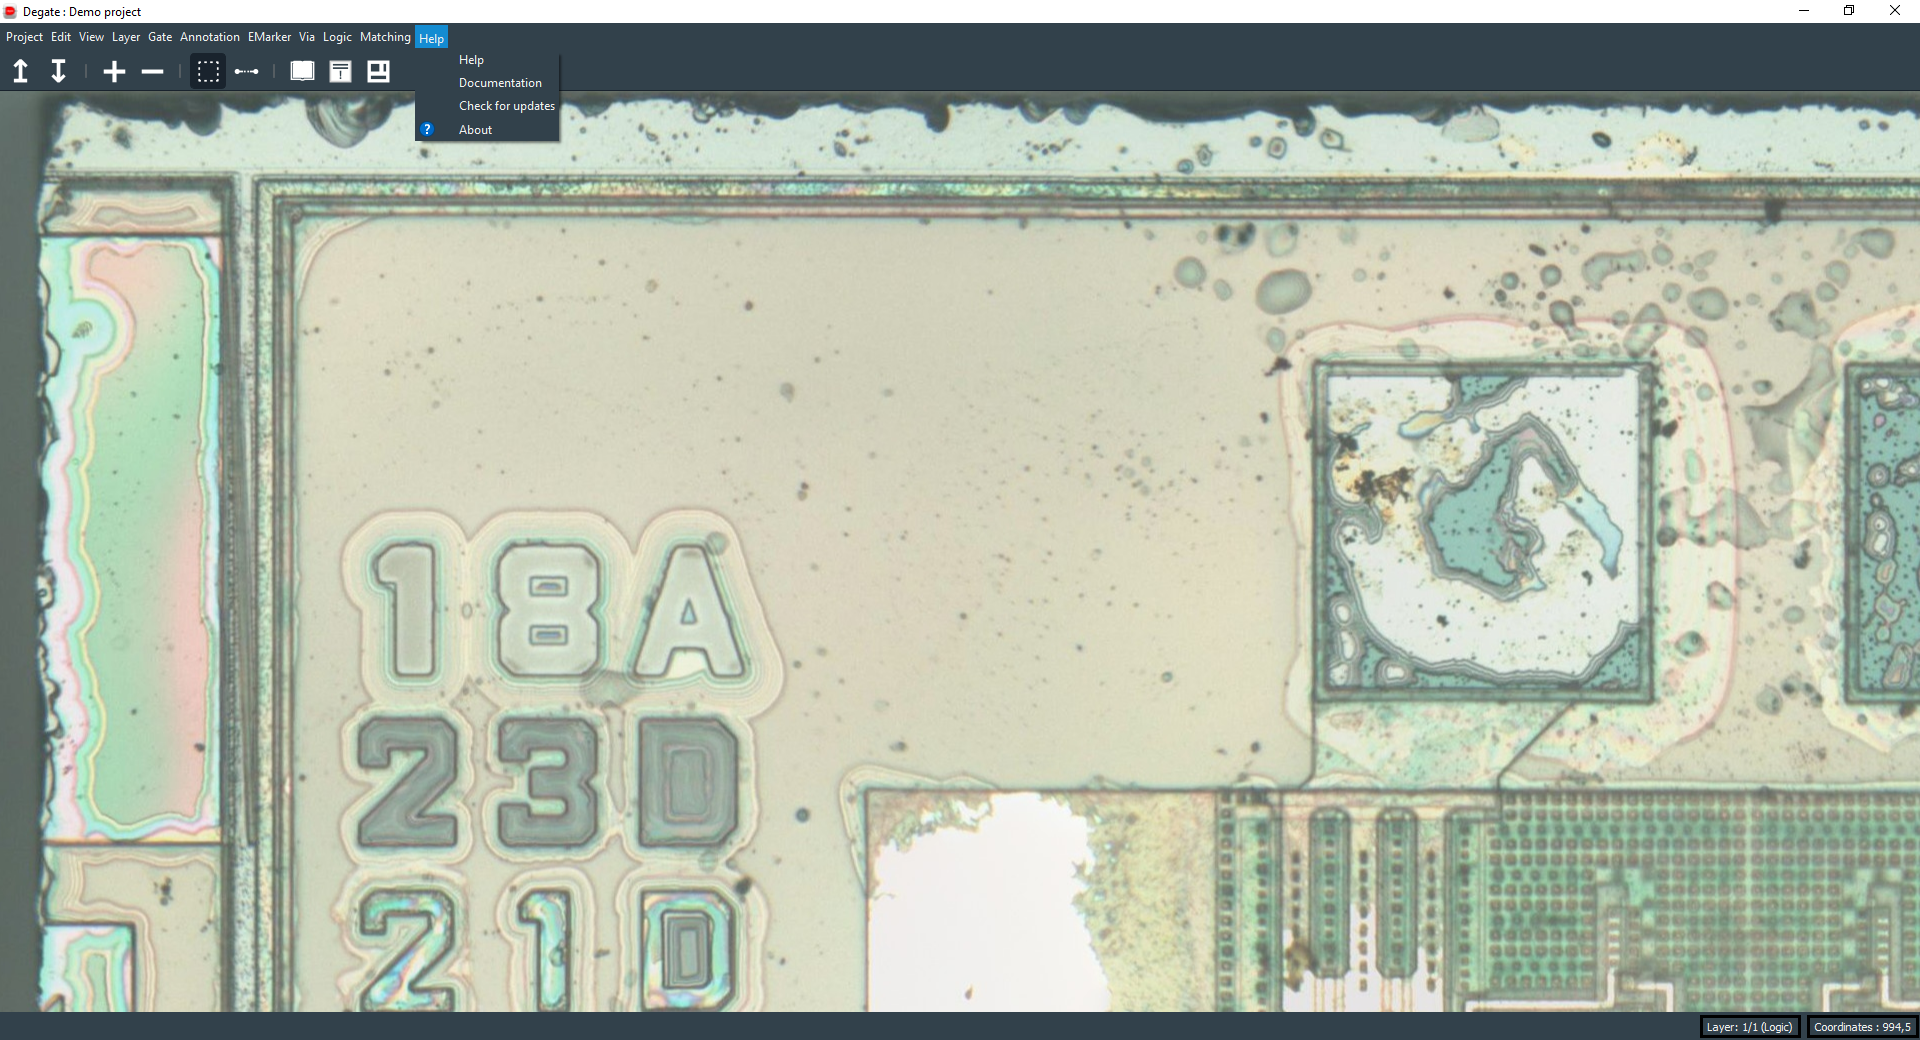
To finish, the help menu will give you access to a shortcut list dialog, to a documentation redirection, to an update checker and to the about dialog (with a changelog, license…).
Toolbar
The toolbar gives you access to actions and tools selection.
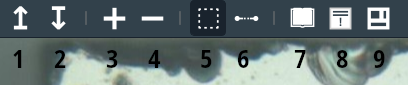
- 1: Move to the upper layer (if possible).
- 2: Move to the lower layer (if possible).
- 3: Zoom in.
- 4: Zoom out.
- 5: Select the area selection tool (to create gates, annotation…). It’s the blue rectangle created using the mouse right click.
- 6: Select the wire creation tool.
- 7: Open the gate library (list of all gates templates).
- 8: Open the rule violation dialog (list of electric errors/warnings).
- 9: Open the module dialog (to sort and export the extracted netlist).
Workspace area
The workspace area is where you will work on the chip layers images, draw gates, draw wires, create annotations… It’s where all the magic takes place.
Notification bar
The notification bar will show messages on its left side and information, with the current layer position (and type) and the current coordinates, on the right side.